 What got you interested in polymer clay as a medium?
I really had nothing to do, and found polymer clay after looking at a few beads that someone was selling. I originally wanted to make glass beads, but I couldn't get all the equipment for it. So I headed down to my local craft store, and they had clay! Bought a few packs, made some terrible looking beads, but it definitely wasn't boring. I made more beads after searching for tutorials online. I also came across photos of miniature food and was curious whether I could really make some myself. Oh boy, did I get hooked on that. And so, here I am, making miniature food and turning them into jewellery and accessories!
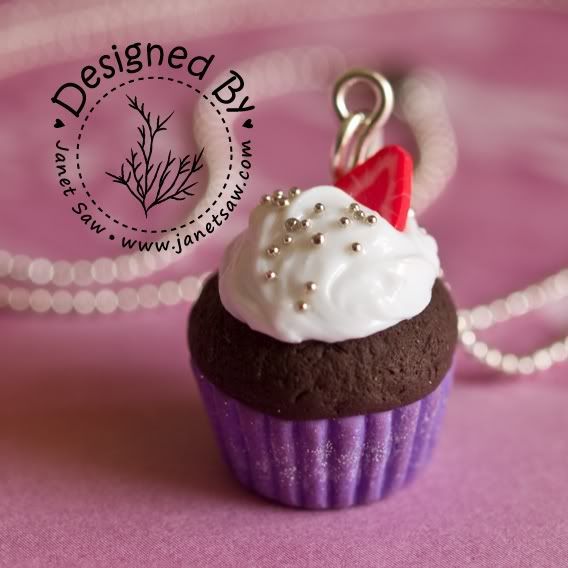
Of everything you have created which is your favorite? I will have to say that I really like my glittery purple cupcake, because it's purple and other people seem to like it too! I now use a photo of it as my avatar.
 What do you prefer to make out of polymer clay and why?
Before I started being more confident with fruit canes, I would have said anything besides making canes. Now, I think it's the most rewarding thing I can make. I spend almost 3 hours making one cane, but the outcome usually satisfies me and I can use those cane slices to decorate my other creations. I don't do this every day, so I think that's why it is exciting when I decide to make a new fruit cane!
How do you decide what to make?I have a few ways to make my decision. One, I take a look at my inventory on ArtFire/Etsy, and see what is missing and think of what I'd like to include next. Two, I have a look at recipe books, but usually this doesn't work out, as I can't make a decision on which recipe to make! Three, if I have new fruits that I haven't used, I will try to come up with ways to put them in my foods.
Is there something you wish you could make in clay that you have not yet?Quite a number of members have used alcohol inks and liquid clay to make gorgeous beads. I don't even know how they did it and I wouldn't have the patience for that. Perhaps one day, I could learn their techniques too. I also would like to make those big-hole beads with metal cores. I think they are really fabulous for bracelets.
What makes polymer clay a better fit for your products than other mediums?Polymer clay allows me to make miniature foods with a lot of realism, and I don't have to worry about the clay drying up while I work. Baking to harden is a brilliant invention. With polymer clay, I can make creams and icings with ease, and keep them in jars for when I need them. I can sculpt textures into my cakes and tarts, and even paint clay with soft pastels! It's so versatile.
What is your best advice for someone starting out in polymer clay?I can only give some advice for miniature food, and I would say that you really need a bunch of equipment such as shape cutters, pin/needle, brushes, varnish, soft pastels, and glass microbeads. You need these to make your food look good enough to eat! Take a look at other artists' work when you start off, because you can learn a lot by just looking at their finished items. Of course, every now and then, read real tutorials and get some miniature food books -- they come in handy when you need to look up a technique.

Visit JanetSaw.artfire.com


